Prepare Your Home for a Photoshoot
A simple guide to help your space look its best on camera.
A calm, practical guide to help your space look its best on camera.
Preparing your home for a photoshoot doesn’t need to feel overwhelming.
The aim isn’t perfection - it’s clarity. A few small edits can make a room feel lighter, more spacious, and more intentional in photographs.
The easiest way to reduce stress is to think in layers:
Clear → Clean → Simplify → Hide
The Stress-Reducing Method
1. Use Stash Boxes
Before you start rearranging anything:
Place 2–4 large boxes or baskets in an out-of-shot area.
As you move through each room, quickly drop in small items you don’t want featured.
Especially useful in bathrooms, kitchens, and bedside tables.
This prevents “micro-decisions” and keeps momentum flowing.
After the shoot, unpacking is easy because everything is grouped together.
2. Create Clear Surfaces
Photography reads surfaces first.
Clear:
Kitchen worktops
Coffee tables
Sideboards
Bedside tables
Windowsills
Keep only 1–3 intentional items per surface.
If in doubt, less always reads better.
3. Remove “Temporary” Storage
We will shoot full corners and wide angles.
Please remove:
Items behind doors
Bags on hooks
Boxes tucked in corners
Laundry baskets
Cleaning supplies
If it’s being stored “just for now,” the camera will find it.
4. Hide Cables Completely
Cables are one of the biggest visual distractions.
Remove chargers from bedside tables and sofas.
Hide extension cords as far back as possible.
Push cables behind furniture or out of frame.
Unplug unnecessary appliances.
5. Clean the Glass Properly
Please prioritise:
Windows
Terrace doors
Mirrors
Smudges and fingerprints become much more visible in natural light.
Clean glass makes a space feel fresh and expansive.
6. All Lights Off
Please have all artificial lights switched off before the shoot.
We work with natural light and controlled exposure.
Open curtains and blinds unless privacy is a concern.
📸📸📸📸📸📸📸📸📸📸📸📸📸📸📸
Room-by-room checklist
Kitchen
Clear worktops (leave 1–3 items max).
Hide washing-up liquid, sponges, tea towels, liners peeking out of the bins.
No dishes in sink or on draining boards.
Unusual, sculptural branches or unconventional blooms are perfect for the counter. Think delicate twisted hazel branches, striking proteas, eucalyptus pods, or architectural stems like alliums.
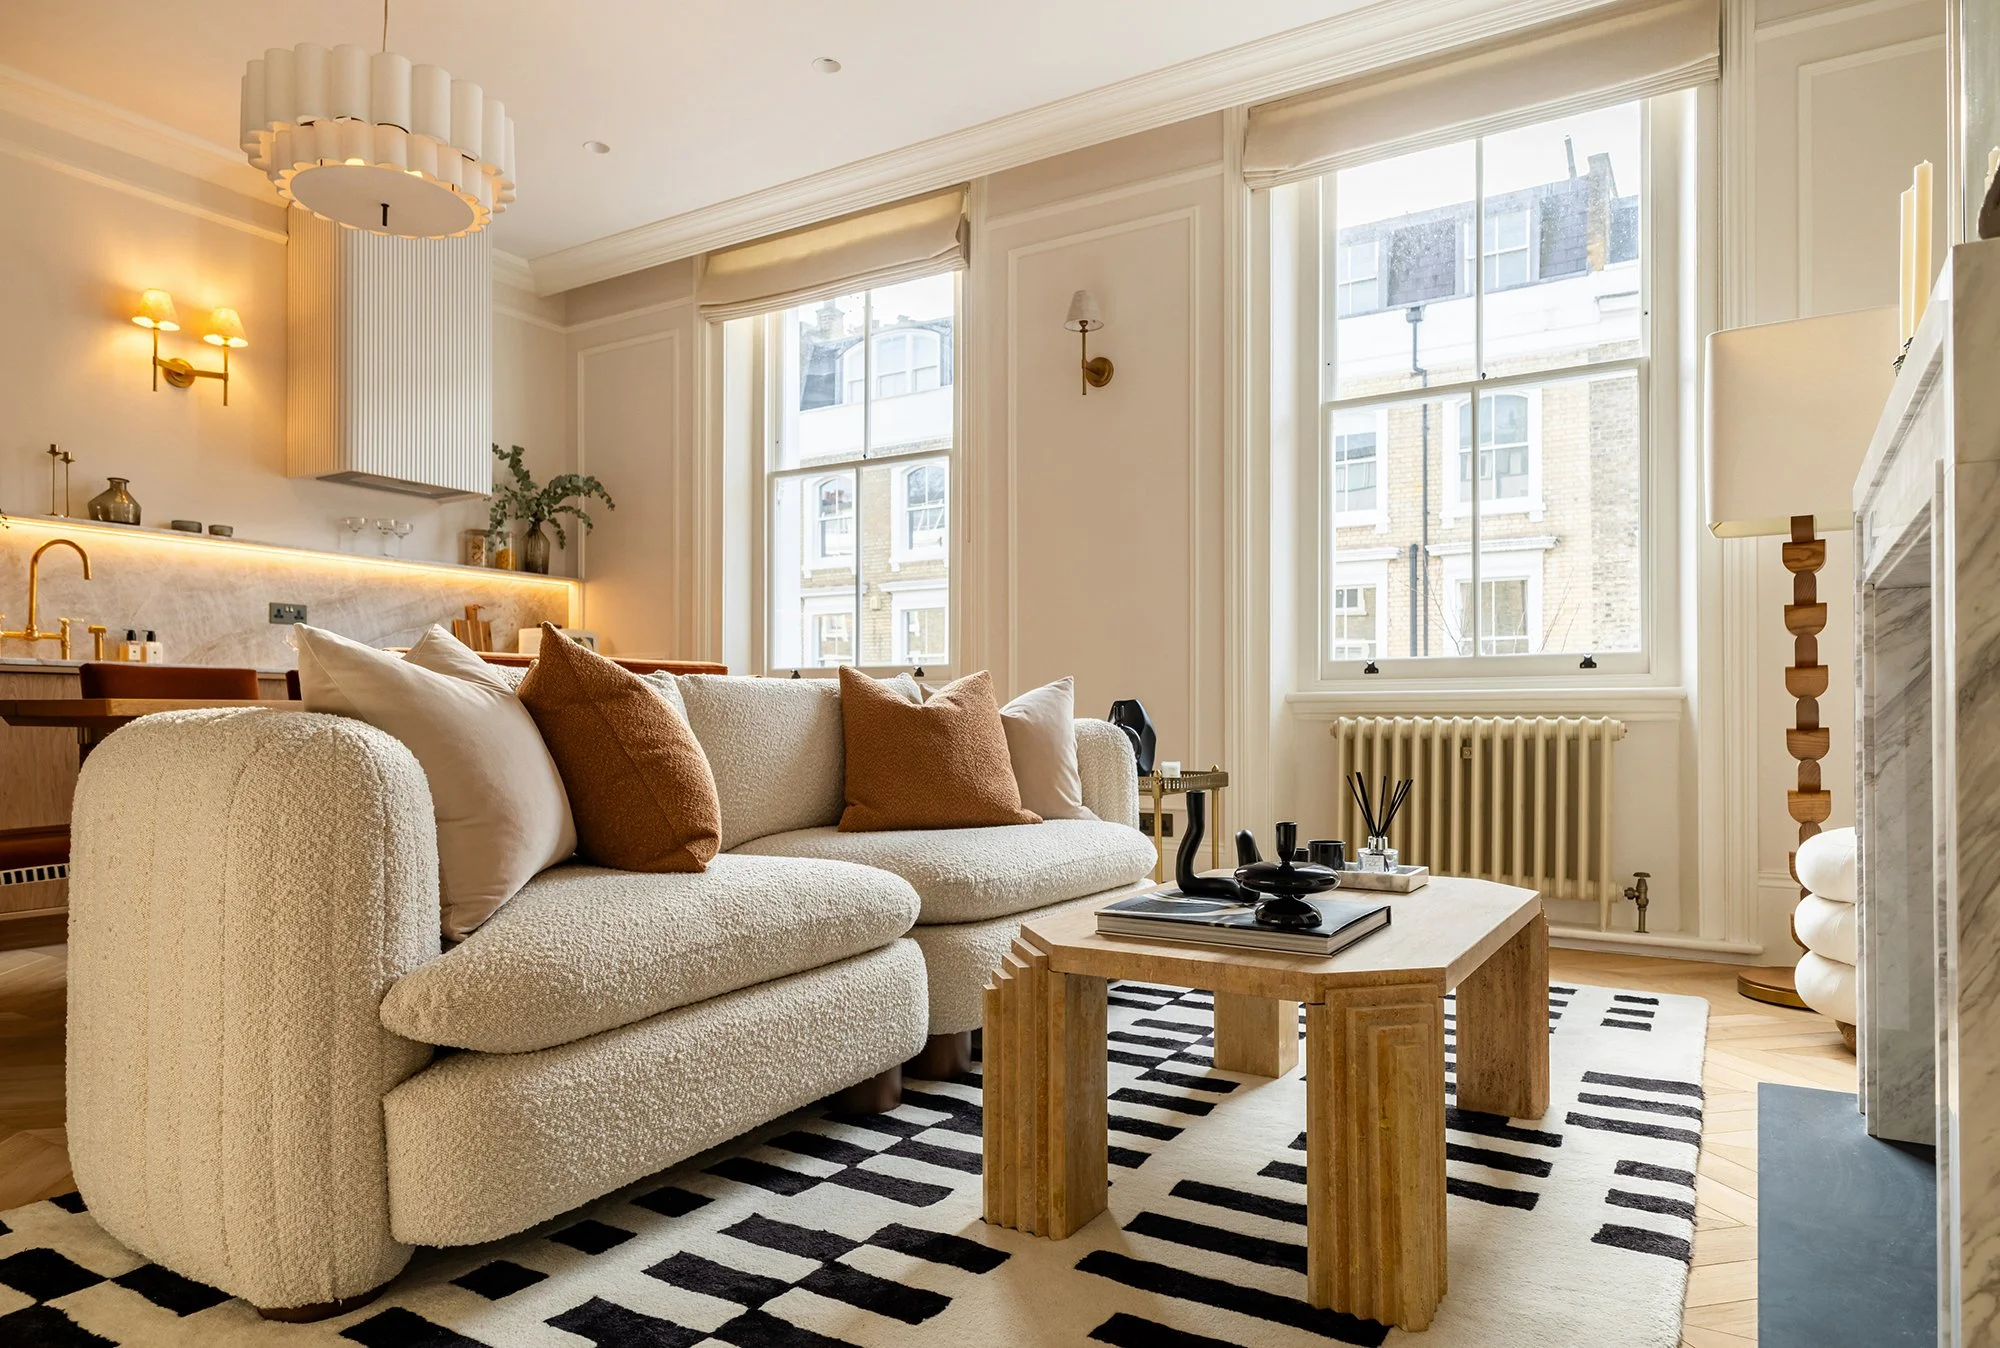
Living room
Straighten cushions, fold throws simply.
Remove remotes, coasters, cables, toys.
Align chairs, rugs, and artwork (small angles show on camera).
Bedrooms
Make beds neatly with smooth bedding.
Clear bedside tables (charger-free).
Bathrooms
Clear the vanity completely (or leave one nice hand soap only).
Remove toiletries, toothbrushes, bottles, toilet brushes, bath mats, spare rolls.
Close toilet lids.
Polish taps and mirrors.
Put laundry baskets out of sight.
Hallways and storage areas
Clear shoes, coats, and bags where possible.
If a coat rack is in frame, edit it down to a few pieces.
Plants
If you want your plants to look their best on camera:
Wipe dusty leaves (a slightly damp microfibre cloth works well).
Remove yellowing leaves and tidy the soil surface.
Rotate plants so the “best side” faces the light.
For tall plants, gently fan out leaves so they don’t clump.
Outside areas
If we’re photographing the exterior, terrace, balcony, or approach:
Sweep paths and steps.
Brush leaves away from entrances, paths, and around the house.
Tidy bins, hoses, toys, tools, and doormats.
Wipe exterior glass doors.
A Final Reassurance
This isn’t about transforming your home.
It’s about removing visual noise so the light, layout, and design can breathe.
If you’re unsure about anything, feel free to send a quick photo beforehand. A small adjustment can make a big difference.